
Don't be a sheep, make the most of your LAM! (LAM Lens Upgrade)
- Brad Naus

- Jan 16, 2018
- 2 min read
So you made the wise decesion to purchase a Tokyo Marui MK23, bundled with a working suppressor, carry case and a sweet looking LAM unit. You eagerly install batteries in to the LAM unit, slip it on over the rails and line up the pistol ready to re-enact a scene from Metal Gear Solid. You flick the on switch with your index finger, and are impressed with the high intensity full lumens experience before your eyes.
Well... if you're reading this, you have probably figured out that the experience above is far more lackluster in reality. That stock TM LAM unit is actually rather pathetic in it's ability to provide much light and quite comparable to a candle held to a glass in terms of brightness.
Fortunately for the MK23 community, a man by the name of Jon Moss came up with several solutions that vastly increase the usability of the MK23 LAM unit; namely a LED CREE bulb conversion and a convex lens replacement.

This blog post will cover the installation of the convex lens, however if you're interested in learning more about the LED CREE bulb conversion, you can find Jon's installation guide here. We may revisit the LED CREE modification in a future article, but hopefully Jon's words will suffice for now.
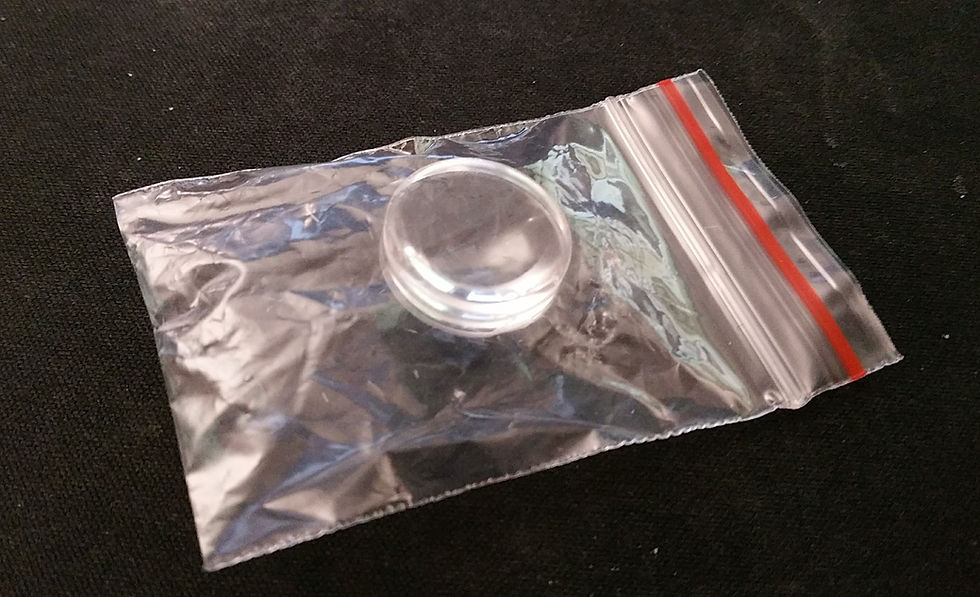
Here's a quick look at the part itself, which can be ordered by contacting Jon directly via email or facebook.
And here's a quick look at stock TM lens:

It's a noticeable difference for sure!
Installation:
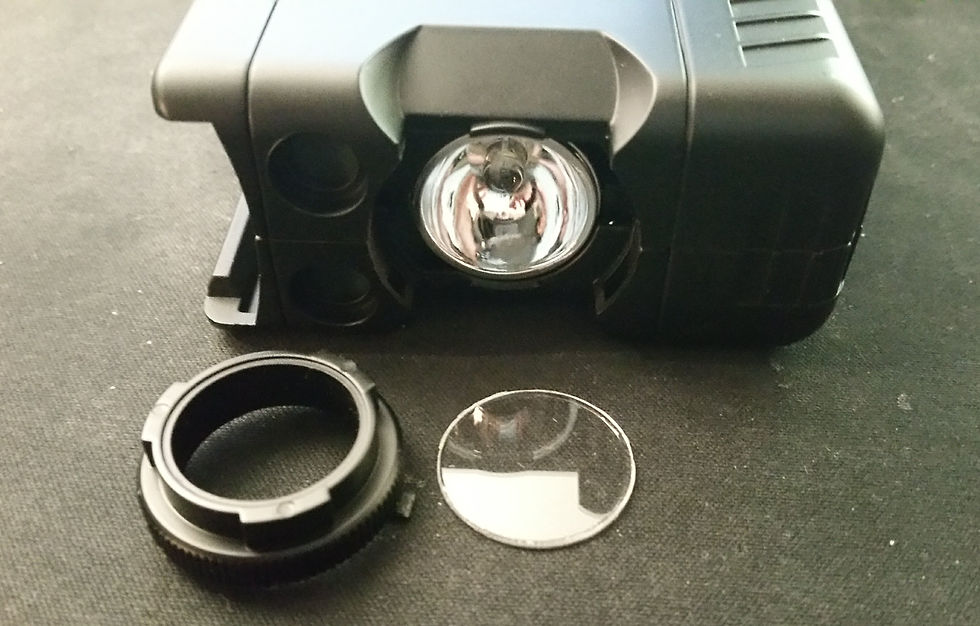
1. Separate the LAM unit from the MK23 if attached.

2. Locate the bulb and identify the bezel around it (the black textured rim around the lens).
3. Remove front bezel by twisting off clockwise (righty loosey, lefty tighty!).

4. Separate the bezel and stock lens and put them to one side.
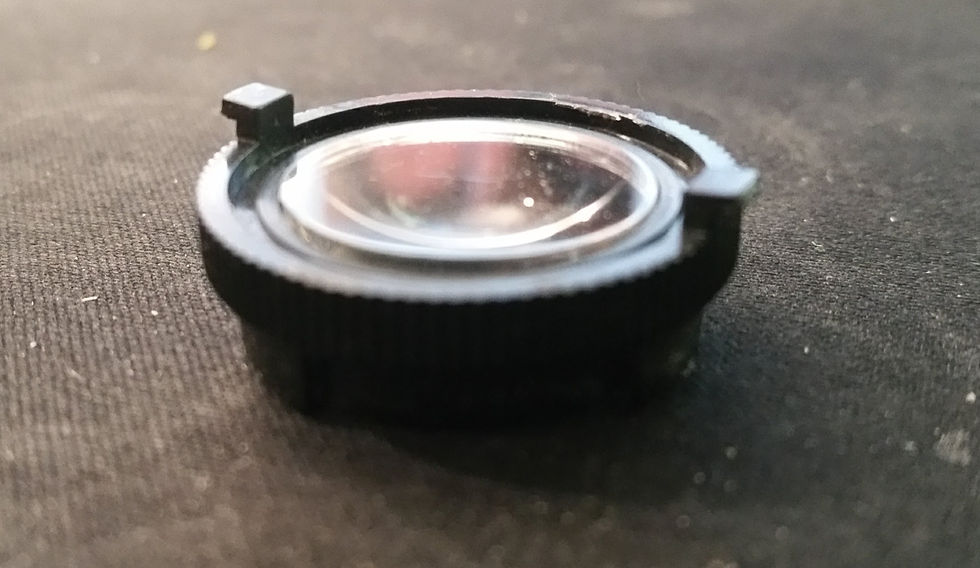
5. Remove the convex lens from the packet and place on a clean surface, flat surface down, ideally avoid handling it with dirty fingers!
6. Taking the bezel, press the bezel down squarely onto lens until the back of the lens is flush with the bezel tangs (in line with the textured rim). You may want to use a cloth and rubber hammer to knock it in to place, it's a tight fit and needs a bit of grunt.
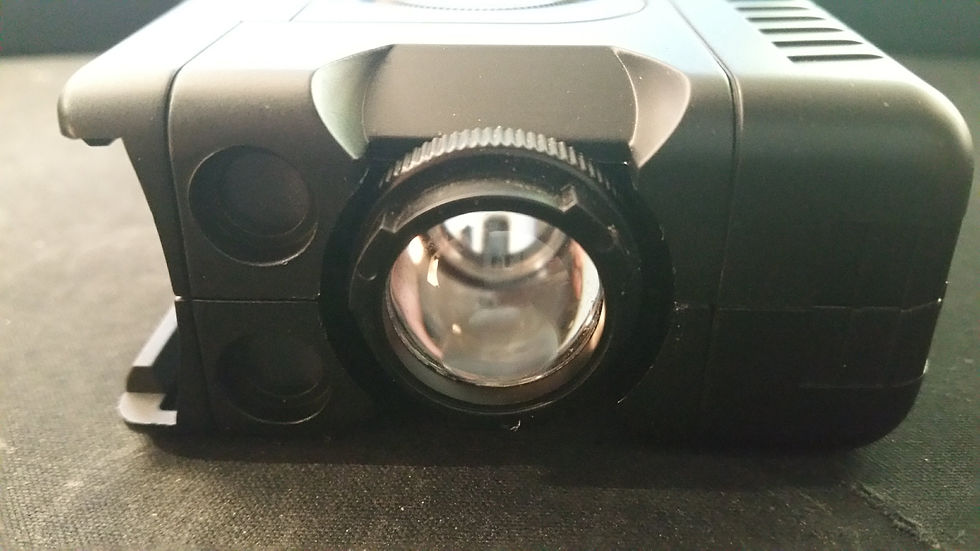
7. With the bulb in place, fasten the bezel back in to the allocated slots by aligning the tangs to 12 and 6 o'clock positions in the bulb fitting and twist anti-clockwise to secure it in place. You may need to push the bezel inwards as you twist to lock it.
8. The bulb should now have a perfectly capable convex lens.

Once you've returned the LAM to it's rightful place on the MK23, you can expect the following results as provided by Jon himself.


Komentáre